

As your clients make enquiries and/or booking requests, your Event list will automatically populate. Of course, you can also add events in manually as you take calls, etc.
More on how to add and modify your events can be found in this tutorial.
Let’s first make sure you have a good understanding of what you’ll find on your Events page.
At the top of the page, next to the “Add Event” button you’ll see some filtering options.

Here you can filter by:
- Status
- Any Status
- Unprocessed
- Processing
- Awaiting Deposit
- Booking Secured
- Balance Settled
- Dropped Enquiry
- Secured / Settled
- All except dropped
- Event Date
- Any event date
- Today
- Future Events
- Recent and Future Events
- Past Events
- Staff
- All Staff
- (or pick a specific individual)
- Assets
- Any Asset
- (or pick a specific asset)
If you want to filter your list down even more, you can use the “Advanced Filters”

Select a filter you’d like to apply from the dropdown list and add the relevant filtering criteria.
If you want to add more advanced filters, just click the green + button next to the words “Advanced filters”
Below these options, you’ll see your actual events list.
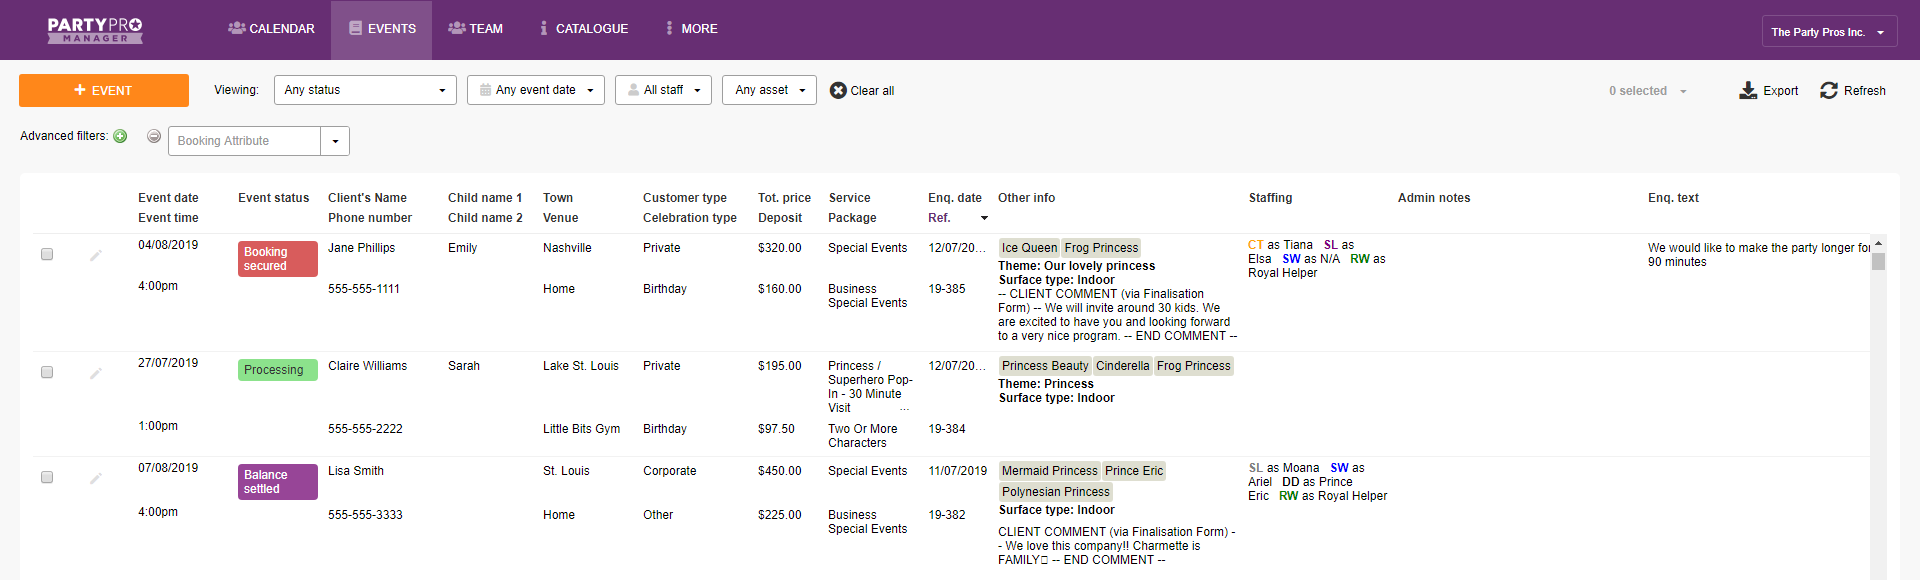
You'll notice that the first column of your Event list has a checkbox for each event in the list. These checkboxes can be used to bulk-email multiple clients at once.
To edit any event, you can either click on the pencil icon at the left of each row or you can simply double click on the row itself.
At a glance you’ll be able to see key information of all your events in one place. The columns in this table will show you the following details for each event:
- Event date / time
- Event status
- Client’s Name / Phone number
- Child Name 1 / Child Name 2
- Town / Venue
- Customer Type / Celebration Type
- Total Price / Deposit
- Service Package
- Enquiry date / Reference #
- Other info
- Staffing
- Admin notes
- Enquiry text
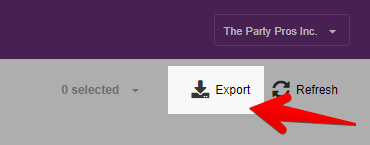
Pro tip: After filtering your list, you can always export the details to a spreadsheet! Just click the export button found at the top right corner.