


This tutorial will give you an overview of your Event Editor.
Your Event Editor is the tool you use when creating a new event or modifying an existing one.
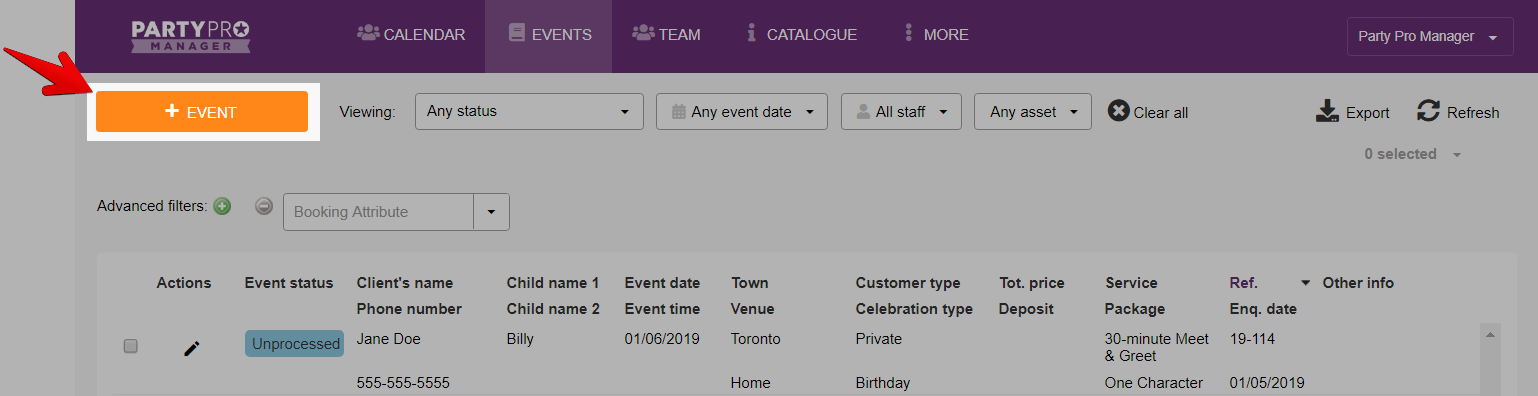
First, you need to navigate your way to the Events page:

From here, you can either add a new Event or modify an existing one to access your Event Editor:
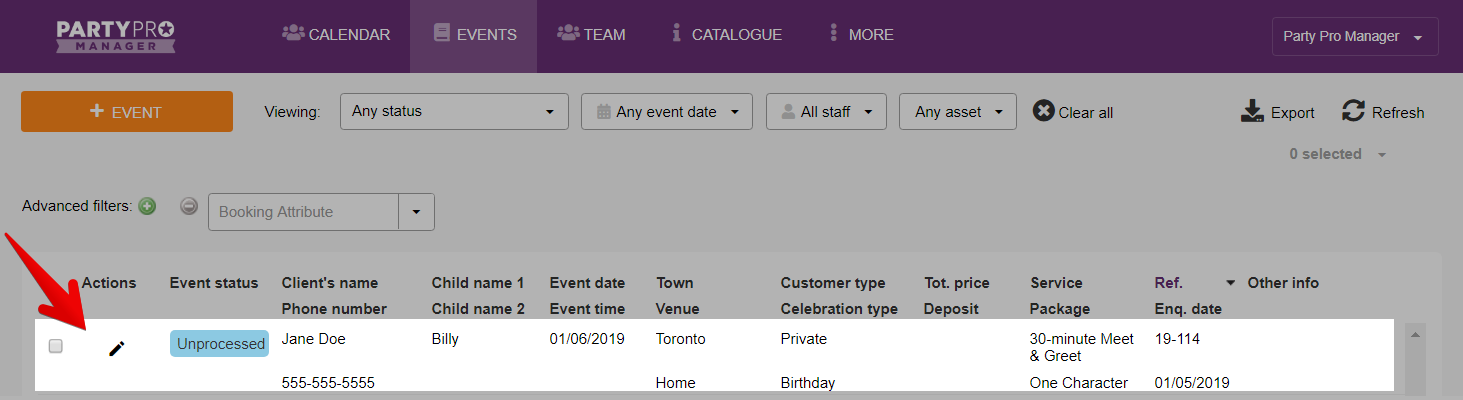
Once you’ve clicked to either add or edit an event, a new window will popup for you to add/edit the details of your event.
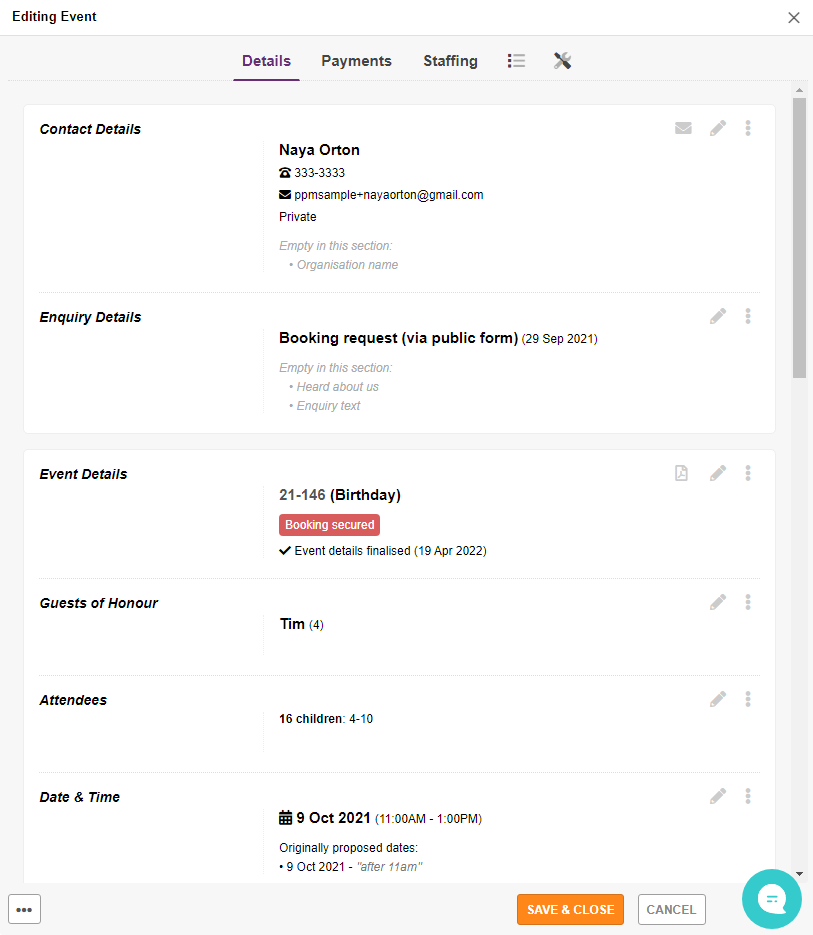
At the top of this window you'll see the different tabs you can access within the Event Editor:
- Details
- Add / Update event details about the client, event, services / packages, pricing, notes, etc
- Payments
- Track payments received and due dates, override default payment methods accepted, etc
- Staffing
- Update staff assigned to the gig, etc
- Event Activity (list icon)
- Access the Booking Checklist, Emails Log, or Changes Log
- Utilities (wrench / screwdriver icon)
- Email your client, staff, or yourself, Create invoices, Set the Autopilot Schedule, etc.
In the Details tab...
To add / update any field, simply hover over that section and click to edit the section. Once you're done editing, click "Done". NOTE: You still need to SAVE your changes.
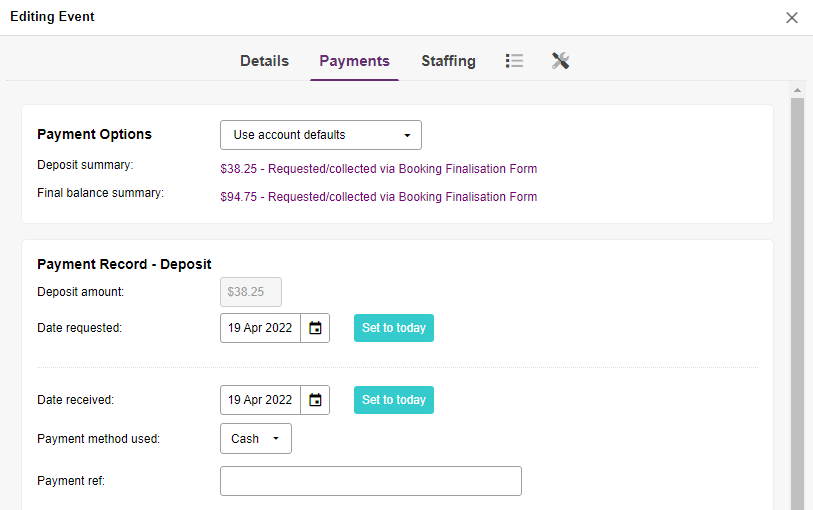
In the Payments tab...
You can:
- Set client payment options
- Make note of what date the deposit and final balance was requested / received
- What payment method the client used
- And add any other payment notes you’d like to keep
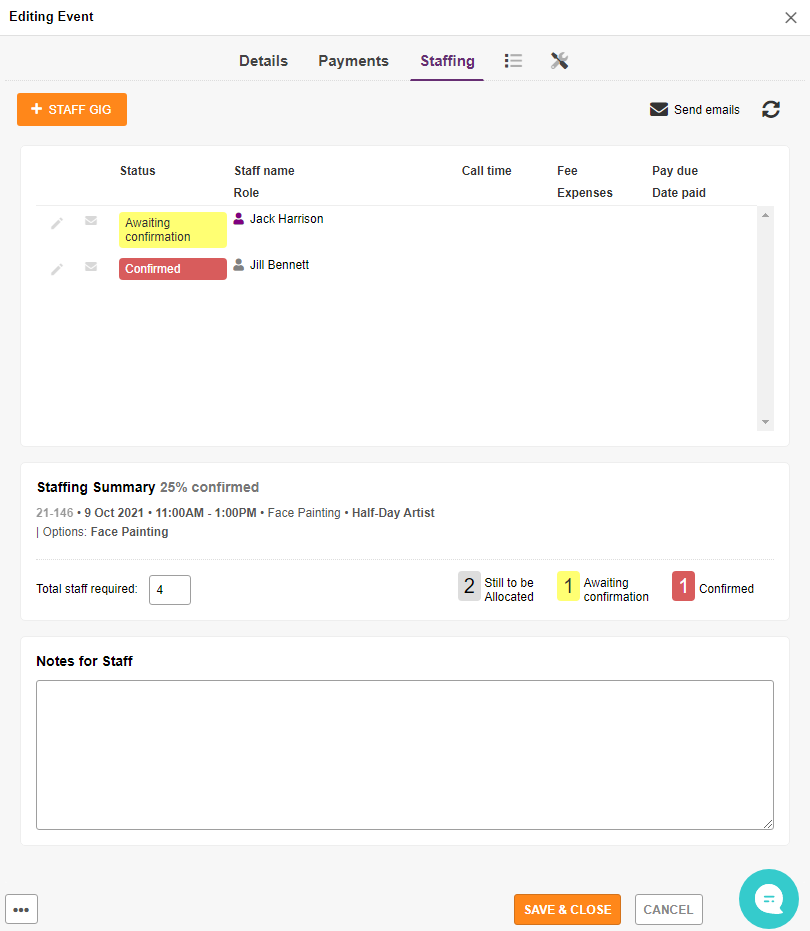
In the Staffing tab...
This is where you review and add staff for a particular event.
In the Event Activity tab...
You can:
- Add deadlines and completed dates for your Booking Checklist items
- Access your Email Log
- Access your Changes Log
In the Utilities tab...
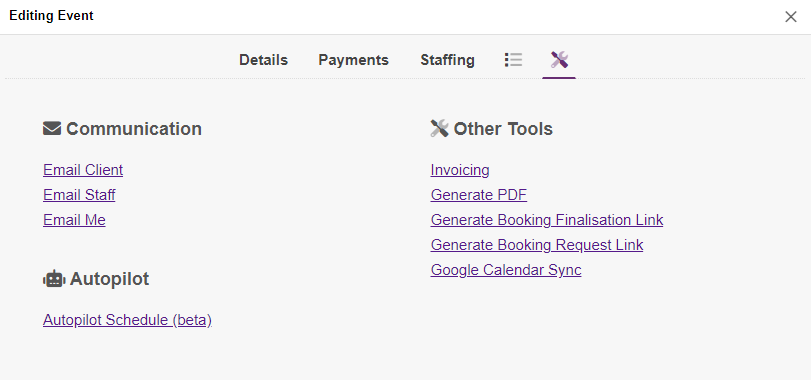
In the COMMUNICATION section, you can send various types of emails
In the AUTOPILOT section, you can configure your automation settings for this particular event
In the OTHER TOOLS section, you can:
- Create Invoices
- used to send your clients a formal invoice
- Generate a PDF
- Creates a printable PDF that you can take with you on the day of the event or keep for your records, including:
- An ad-hoc message or choice of Standard Text
- Booking details
- Private admin notes
- Creates a printable PDF that you can take with you on the day of the event or keep for your records, including:
- Copy your Booking Finalisation Link
- This is a confirmation form you can send to your client to provide any missing details, agree to your terms and make their first payment
- Copy a Booking Request Link
- This generates a web link to a form which allows your client to review the booking and fill in any required missing details
- Google Calendar Sync
- If you’ve set up your Google Calendar integration (found at Settings >Integration), here you’ll see confirmation of when this event was last synced with your Google Calendar, along with a button to "Re-sync" the event manually.